
United Kingdom
181 Posts
Posted - 30/10/2011 : 19:56:40
The main reason I took SG out the water yesterday was so that I could have a look at the rudder and tangs. I'd pretty much convinced myself it would be fine for the following reasons:
-I could only get a teeny weeny bit of compass deflection in one spot
-It looked like someone had bored some large test holes previously
-There seemed to be some glassfibre tape the whole way round where it had been "split" before
-As someone else had said "if it was going to go, it would have gone by now" what with some pretty windy sailing
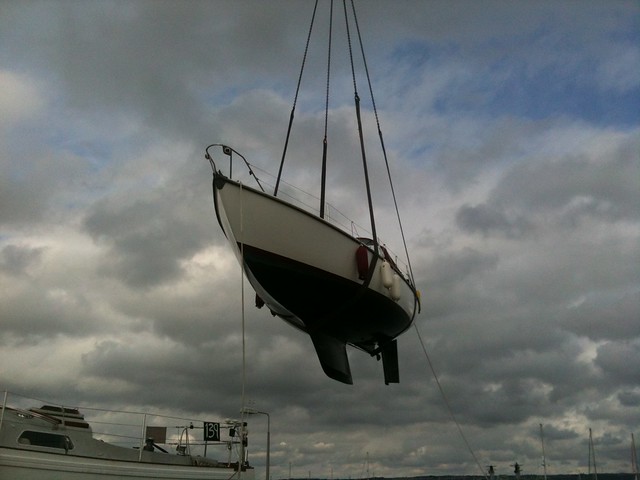
But to be sure, it had to come out. So a bit of craneage...
(please marvel at the lovely lines of the "sports" version of the Sabre...proper keel )
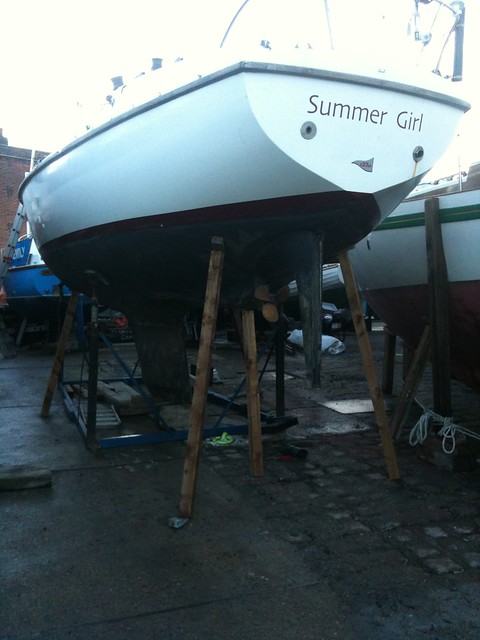
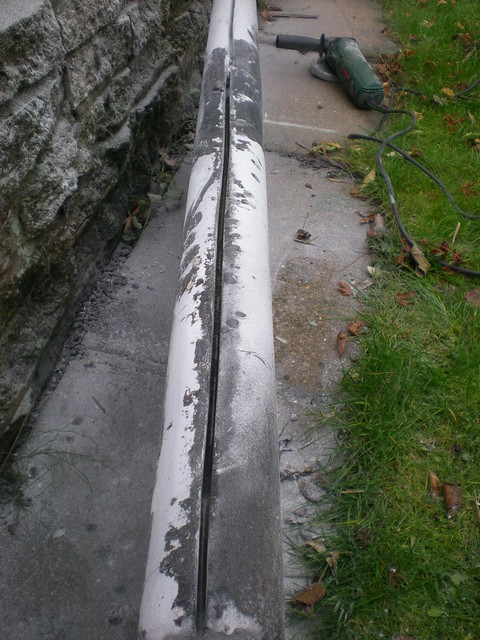
...was followed by this, (and marvel at my £50 2nd hand cradle from the for sale section of YBW.com!) and fortunatly the hard at my club is at enough of a slope to drop the rudder straight out. I had just two bolts (and a third, missing one) in the bottom of my skeg, and that was it. It needed a LOT of simultaneous smacking from both sides at the same time, between rudder and skeg, and finally it started to move, followed by coming away. Up in the cockpit, tiller joint off, allen screws holding the bronze disc thing slackened off, stilsons on, and off it came. Well, not exactly. Several cans of WD40, lost knuckles, hot water, and some great anglo saxon words (and a cold chisel) and eventually it came off. Rudder out the tube, job done.
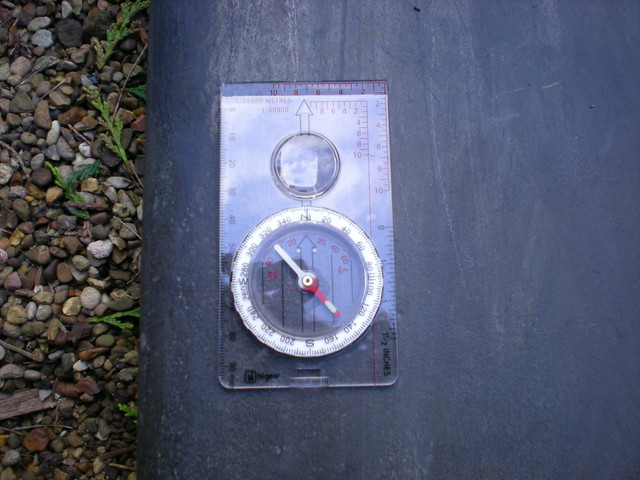
Back home today, and time to split it. First, with the rudder laid flat, let's check that compass again...
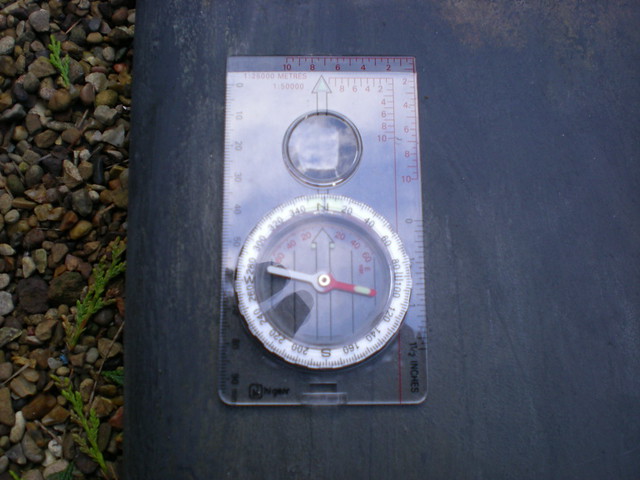
Seems all OK, apart from now, quite a big deflection in the middle...hmmm, ferrous metal methinks! Funny angle for it to point though...?? And MUCH more of a deflection than I was getting when the rudder was still on the boat last winter!
So definitely needs to be opened up. I tried drilling it and jigsawing it and soon gave up. Grinder time.
Eventually I got it apart...ah, that will be why the jigsaw was a bit useless then! I was expecting worse from the foam, and that horrible acidic smell of osmosis was not really present.
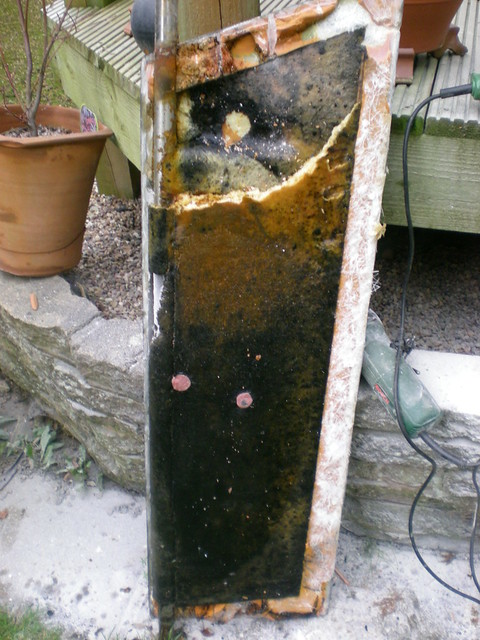
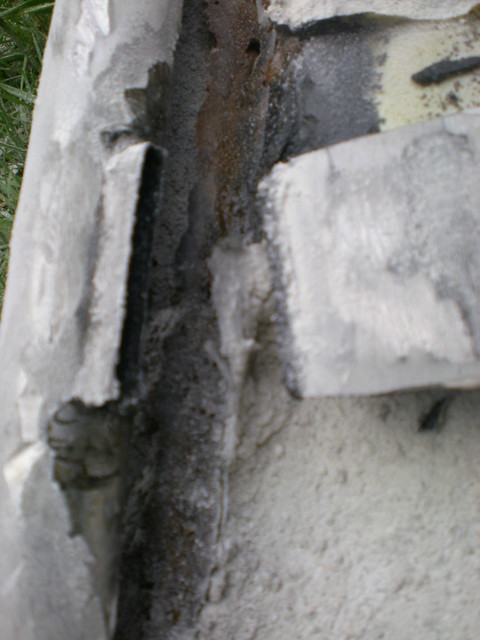
So after a bit more grinding, I removed all the glass holding the tangs to the moulding. Good news! Lots of nice shiny stainless. Oh hang on, what does mild steel look like when you get an angle grinder on it?
So time to inspect the welds. Hmmmm, is that a bit of movement on the top tang? Let me just grind a bit more GRP away to check the weld penetration...
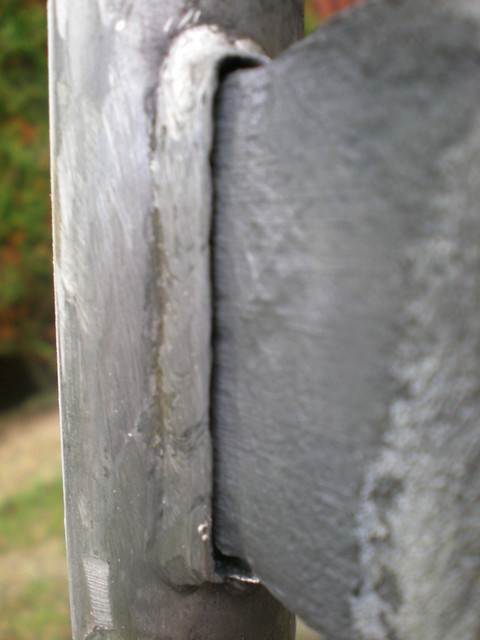
Oh crap, said Zebedee!!!
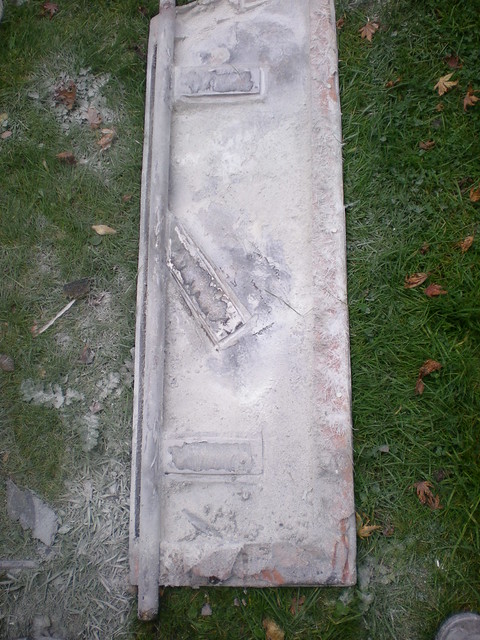
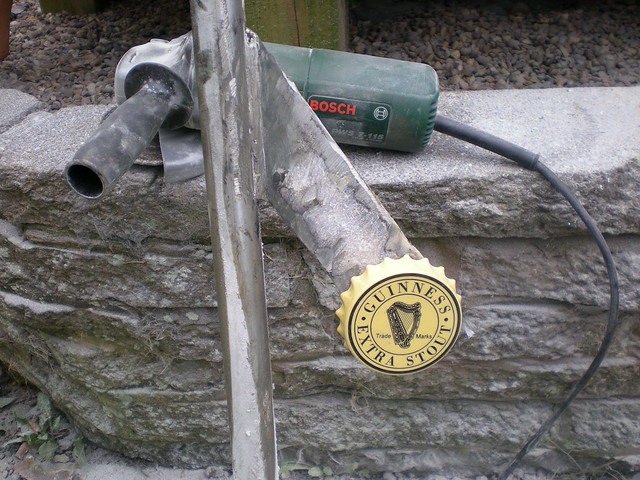
So with the shaft out, I could inspect the other welds, which were all good, but also confirmed (thanks to this handy Guiness fridge magnet) as all mild steel. So it's now over to my tame fabricator (some say he eats wire for breakfast, and breathes pure argon, all we know is he's called The MIG) for them ALL to be replaced with 316 grade stainless (one at a time to keep the alignment!)
Joking aside, every minute ever spent working on SG could have been in vain had the rudder let go in a number of fairly exciting situations that we've been in over the past few years. I can honestly say if I get NOTHING else ticked off my winter jobs list apart from the rudder, and she goes back in the water next year as is, I will still be a happy bunny. So please, please check yours if your boat is out this winter and you are not 100% certain that it's already been done!
Rebuild pictures (part 2) to follow!
jerryo
Ireland
70 Posts
Posted - 30/10/2011 : 20:12:23
Quite brilliant Iain. Great pics and most informative. Parvus Quinque is in the water this winter but I will test the rudder this coming spring with a compass,(neat trick)
Looking forward to the rebuild pics.
Good luck with it.
jerry
PS love the humour.
Peter OD
United Kingdom
50 Posts
Posted - 30/10/2011 : 20:47:15
I really wish you hadn't done this - you've got me worried now
Peter - Sanda Isle at Mylor
jerryo
Ireland
70 Posts
Posted - 30/10/2011 : 21:31:43
To be honest he has just reinforced a niggling worry at the back of my mind. Lets face it, if it goes its a bu**er (no, not butter) so if it is checked and fixed if necessary, no more worry...hopefully.
Jerry
nickbd
United Kingdom
207 Posts
Posted - 31/10/2011 : 09:12:48 nickbd's nickbd's
Could you do mine?
==============
Nick B-D
1974 Fin Keel, Yanmar YSE 12
http://sabre27.wordpress.com
http://www.tinstar.co.uk
Twitter: http://www.twitter.com/Sabre27
Iain C
United Kingdom
181 Posts
Posted - 31/10/2011 : 11:44:59
JerryO - don't trust the compass trick. The difference in deflection between the rudder being on the boat, and horizontal, was huge. Even then, the only tang that gave any deflection was the middle one. The others showed nothing (and it was the top one that was broken)
Peter – sorry to worry you, but to put it bluntly you need to check it. If mine had gone bang on the startline of the RTIR it would have been a serious case of bumper boats. But the feeling of smugness to actually get it apart is well worth it!
Nick – short on time to even do my own stuff. I’m going to rebuild my rudder at home in the Midlands, however if you want to bring yours round to Gosport when I am having a boat fixing weekend over the winter, let me know. I have to say, it seems highly scary attacking bits of your boat with an angle grinder, however it is very simple engineering and it all looks very easy TBH. I’ve got quite a lot of experience in epoxy work through various skiff building projects and putting this rudder back together (with a few more layers of glass added to the inside of the layup as it’s pretty thin!) should be easy.
jerryo
Ireland
70 Posts
Posted - 31/10/2011 : 14:09:14
Hi Iain
Ok point taken re compass trick. I will just open the rudder and if work is needed, will post it to you
Jerry
Peter OD
United Kingdom
50 Posts
Posted - 31/10/2011 : 15:59:10
Iain - you have convinced me! I can do all the necessary other than the welding (if I need it) so its not that that bothers me (more my age, artificial knees and the difficulty of working on them!!) Who would want to grow old. I don't think there's any mild steel in there - I've checked the rudder all over with a supermagnet - but no substitute for eyeballing it.
Thanks for the advice.
Peter -Sanda Isle (pity that we're not all together somewhere - we could have a joint attack on the problem - lubricated by the local hostelries!)
Iain C
United Kingdom
181 Posts
Posted - 05/11/2011 : 10:27:33
Right, 316 s/s bar ordered from Metal Supermarket in Southampton, and I will take the bits to The MIG next weekend for welding.
One question...can anyone point me towards a source for the correct, non-expanding foam to use to fill the rudder with?
Thanks
sabre27
178 Posts
Posted - 05/11/2011 : 11:39:27
East Coast Fibreglass Supplies
West Walpole Street
South Shields,
Tyne and Wear
United Kingdom
NE33 5BY
Tel: +44 (0)191 4975134
Fax: +44 (0)191 4565487
Email: sales@ ecfibreglasssupplies.co.uk
Blue Gee & Poole Glass Fibre Centre.
Blue Gee Roundabout, 1 New Quay Rd, Poole, BH15 4AB
Glass Fibre Services & Supplies
Tel: 01202 676612